

cTrader Multi-Timeframe Pivot Pro - User Guide
How to Use the cTrader Multi-Timeframe Pivot Pro: A Complete User Guide

The cTrader Multi-Timeframe Pivot Pro is a powerful and customizable indicator designed to enhance your trading analysis. It allows you to display pivot points for up to three customizable timeframes, letting you choose any timeframe available on the cTrader platform. Supporting multiple pivot styles, including Classic, Fibonacci, Demark, Camarilla, and Central Pivot Range (CPR), it offers flexibility to suit your trading strategy. With fully customizable labels, colors, and alerts via pop-ups, Telegram, or email, this indicator helps you stay on top of key price levels. It also features period separators for better chart clarity and trend bias labels for CPR. Perfect for traders who want precision and adaptability in their technical analysis.
Screenshots


Video
Parameters
Pause & Help
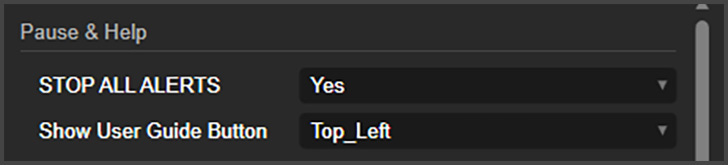
Stop All Alerts: Here, you can stop all the alerts from this indicator. It is at the top of the parameters for better visibility.
Show User Guide Button: This will place a small button on the chart. This button will open this User Guide when clicked.
Type

Pivot Points Type: This lets you choose the method of pivot points this indicator will use to calculate the pivot levels. The options are: Classic, Fibonacci, Demark, Camarilla, Central Pivot Range (CPR).
Fibonacci Type Levels
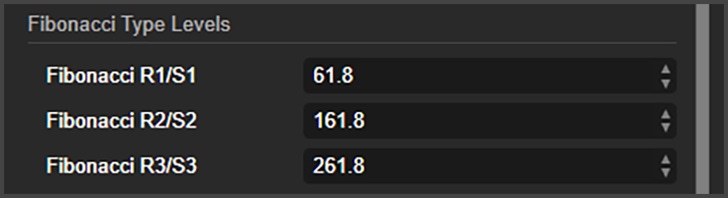
If you are using the Fibonacci Pivot Points, here is where you can choose which levels the indicator will use.
Central Pivot Range (CPR)
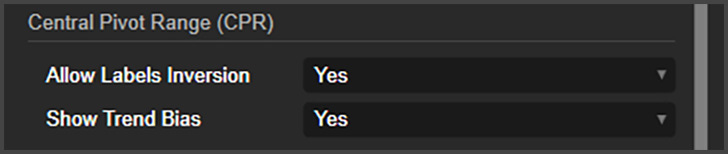
Allow Labels Inversion: The CPR formula permits the inversion of BC (Bottom) and TC (Top) levels under specific conditions. You can enable this feature if desired. If disabled, the indicator will automatically adjust the labels so that TC always remains on top and BC at the bottom.
Show Trend Bias: Enabling this option allows the CPR method to evaluate the first candle of the range and determine its initial bias, whether bullish or bearish.
Labels
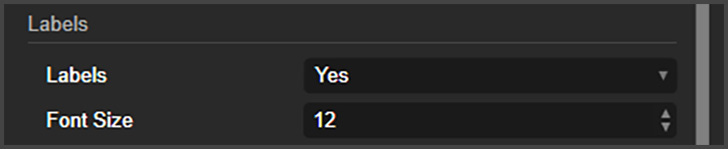
You can toggle the labels on or off and adjust their font size.
Timeframes 1, 2 and 3
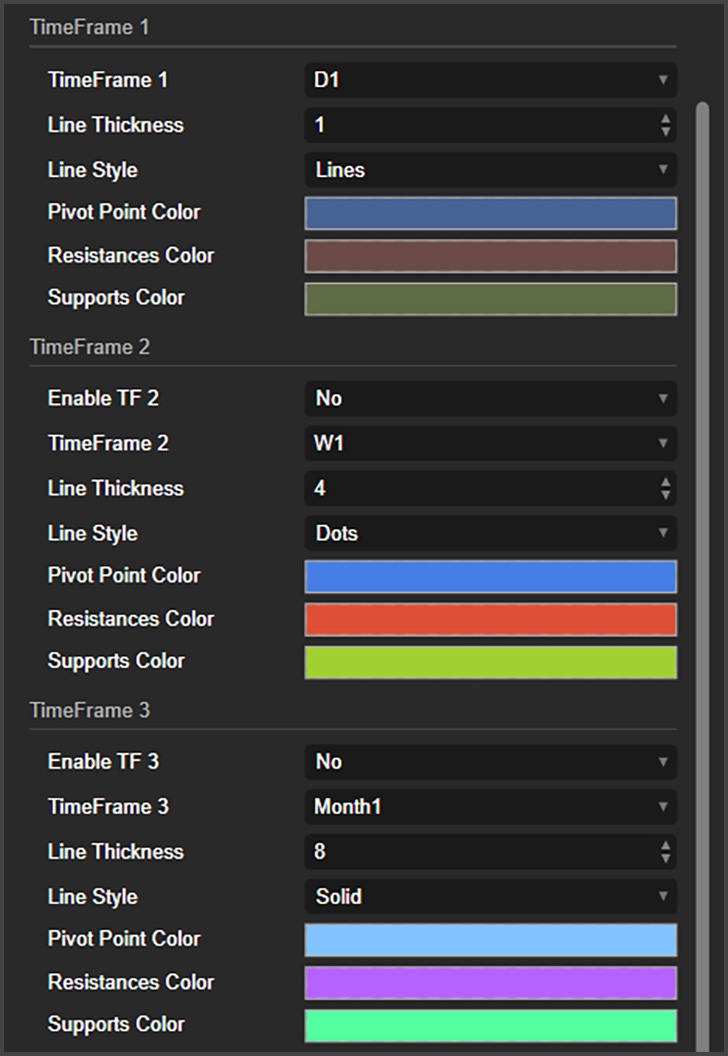
Timeframes 1, 2, and 3: Select the timeframes you want the indicator to utilize. You can choose up to three timeframes, with the option to disable the second and third if you prefer to use only one. By default, the timeframes are set to Daily, Weekly, and Monthly.
Line Thickness: Adjust the line thickness for each timeframe individually, allowing you to emphasize their relative importance.
Line Style: Customize the appearance of the lines by selecting from solid, dotted, dashed, and other styles.
Colors: Assign distinct colors to each level and timeframe, making it simple to distinguish between the lines.
Period Separators
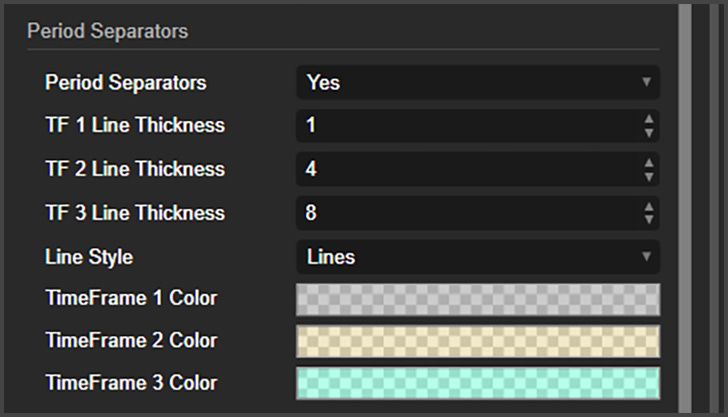
Period Separators: Toggle the vertical lines that divide one period from another on or off.
Line Thickness for TF 1, 2, and 3: Select the thickness of the period separator lines for each timeframe, making it easier to distinguish between different timeframes.
Line Style: Customize the style of the period separator lines, which will apply uniformly across all timeframes.
Colors for Timeframe 1, 2, and 3: Pick the colors for the period separator lines. It’s recommended to use translucent colors so the lines don’t obscure the chart bars.
Alerts
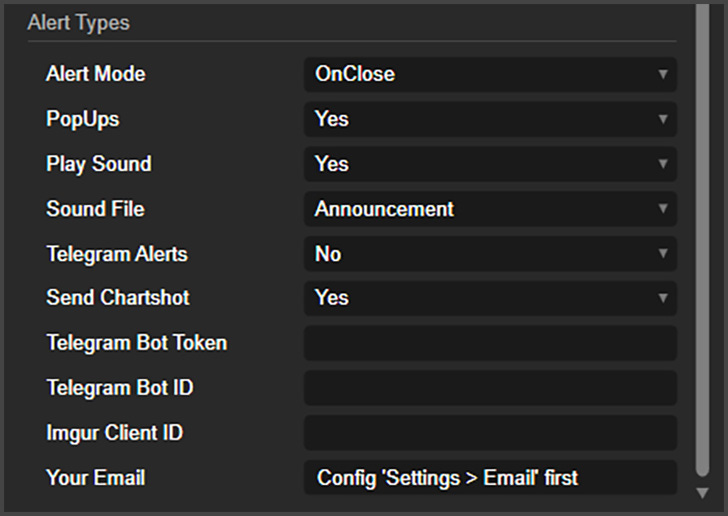
Alert Mode: Select whether you want to receive alerts when a bar touches a pivot level upon closing, or if you prefer to get notified without waiting for the bar to close.
PopUps: Turn cTrader pop-up notifications on or off.
Play Sound: Activate a sound notification whenever an alert is triggered.
Sound File: Specify the sound file to be used for alerts.
Telegram Alerts: Enable or disable Telegram notifications.
Send Chartshot: Activate Telegram alerts that include chart screenshots.
Telegram Bot Token and ID: Enter your Telegram credentials here. A tutorial link is provided below for guidance.
Imgur Client ID: Required for sending chart screenshots via Telegram. Refer to the tutorial link below for instructions on obtaining it for free.
Your Email: Enter the email address where you want to receive alerts. Ensure the cTrader platform is configured beforehand. A tutorial link is available below.